
First installment is the DIY-est of our decorating....two small projects that are making our foyer festive (a little holiday alliteration for you).
First up: giant snowflakes! I first saw a tutorial for these on my homeschool message board two years ago, I believe, and was very pleased with how impressively they turned out given how easy they were to make. I'm not going to try to explain how to make them because my poor spatial reasoning skills would make that a giant disaster. I'm going to link you to a handy tutorial from Home With the Boys instead.
First we went off to Hobby Lobby in search of shiny silver and blue paper to use for these. And.....we couldn't find any anywhere in the store. I'm still convinced they must have exactly what I wanted in there somewhere, if only I could have found the right aisle. But, at any rate, we wound up settling for a pack of blue construction paper and using regular old printer paper from home instead. We worked on these while we decorated the Christmas tree, and knocked out three of them that night.
Kids can do a good bit of these independently, depending on age. Ari can pretty much do the whole thing; the others needed some help with folding in a straight line, but could do the cutting and taping themselves. They're also very forgiving; no need for exact measurements or perfectly straight lines. Then we hung them up in the foyer with ribbon and scotch tape. And one of them keeps falling down, so we probably need to find a better way to hang them.


And part 2 of decking the foyer: vintage wrapping paper, finally put to use!
I found this box of vintage wrapping paper at a yard sale back when we lived in Boston, if I remember right. And I've been hauling it around the country with me ever since. It is too pretty to use just to wrap presents with, but I've never come up with another project for it. Until now! It's actually not especially revolutionary, my brilliant idea. "How about I buy some cheap frames and stick it in there?!" I thought to myself. So that is what I did. I still have a ton left, so I'll have to come up with some more incredibly innovative ideas like that next year.

Here's the box the gift wrap is in. It's DELUXE! or, more precisely, "DeLuxe"
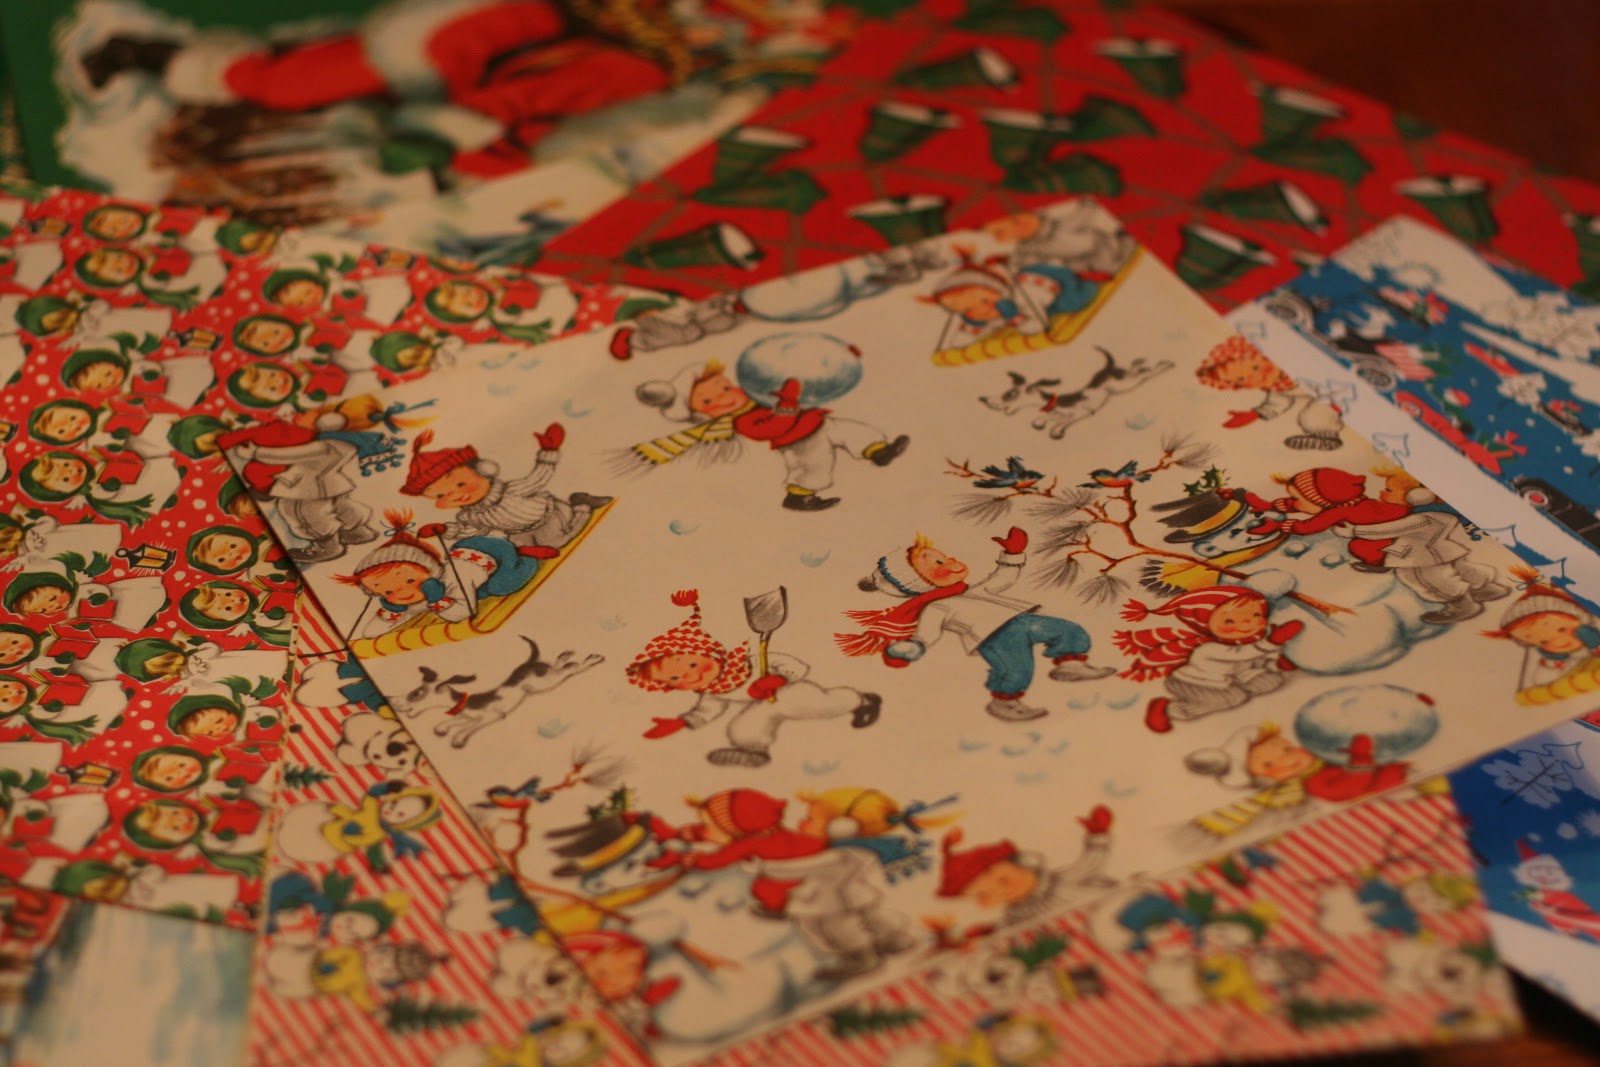
There's a surprising amount of wrapping paper in there. Some of it is awesome, and some of it is plain green.

Here is my detailed tutorial for how to put vintage wrapping paper in frames:
1. Go to Hobby Lobby and buy cheap frames. These were 50% off (I understand that happens as often as not at Hobby Lobby), so $5 each. They might not have white frames like you really wanted, but the black ones will be fine.
2. Pick out your three favorite varieties of vintage wrapping paper and cut to the appropriate size.
3. Put in frames
4. Hang up on wall
5. There! Finished! And you did it all yourself! Reward yourself with chocolate.


This is what our foyer looks like now. But (warning: here is the sad part of this post)....try picturing it with a an awesome white Christmas tree with blue and silver vintage ornaments under those snowflakes. They had an awesome white Christmas tree for $29 at the thrift store the other day, and.....I did not buy it. I had a bad cold and did not feel up to decision making. And I would have had to carry it to the car. And I was TIRED. I sent Dave back for it the next day, but it was, of course, gone. Sigh. So my foyer is tragically incomplete. But I know another white (or silver!) tree will turn up sooner or later. I need only be patient. But not patient once I see it; then I must be ready to pounce!
Linking up with: Decor and the Dog, Maybe Matilda, Two Twenty One, and Newly Woodwards
My Uncommon Slice of Suburbia, Chic on a Shoestring's Flaunt It Friday
i LOVE those snowflakes!! so festive!
ReplyDeleteThese projects are excellent. I'm seriously digging the vintage wrapping paper. And thank goodness for the tutorial. ;)
ReplyDeleteThanks so much for linking up to Dare to DIY!
Thanks to you guys! I'm sad it's over :(
DeleteI love the vintage Christmas art. So sad you missed on the tree opportunity though. Next time: buy first, think later :) I am still thinking about some pants I didn't buy on a trip to Canada in 2000... Should have bought them...
ReplyDelete"buy first, think later" ha! I think I'll have to make that my new motto ;)
DeleteThe snowflakes look WONDERFUL!!!
ReplyDeleteLove those snowflakes you made! And who doesn't love free art?! Sorry to hear about your tree! I hate when the sick fog takes over your head and makes you miss out on awesome things.
ReplyDeleteSo cool! It's amazing how something as simple as paper can look so elegant!
ReplyDeleteWe made snowflakes last year they were nowhere near as pretty as these!!
ReplyDeletexox
The vintage wrapping paper makes me so happy. I need to find some! Thanks for joining the Dare to DIY!
ReplyDeleteI recommend yard sales in and around Plymouth, Ma ;)
Delete