
Update (3/26/13): There is, at long last, a tutorial post, complete with diagrams, on how to make this gate. So if you've arrived here from pinterest or from a google search and are thinking, "uh, huh, that's nice--but how do I make my OWN gate?" ....well, we'll tell you!

We are not proud people. If there is a reasonably priced, reasonably attractive baby/dog gate available for us to purchase, we're happy to let someone else do the work of building it and just buy the damn thing. But. Whoever added our sunroom onto our house made some...creative decisions. Some not entirely up to code decisions. Some decisions that it will take us lots of time and money to fix, ultimately. Like the wiring (note to self: call an electrician, already!) Or the decision to put in plain old sheets of glass in the ceiling instead of actual skylights (massive roof leak: check!)
Some of the decisions are quirky but not actually dangerous or destructive. 26 3/4" wide doorways fall into this category. One of the entrances to the sunroom has an actual (ill-fitting) door. The other is just an open doorway. We need to be able to block that doorway off because the sunroom is where we like to keep dogs when we want to keep them out of the way/out of the kitchen/away from each other. (Lucy the old cattle dog mix and Gable the shaggy sheepdog used to be separated at all times, after a couple of too nasty fights. Things expensive trainers and behaviorists have said about Lucy: "this is the most interesting case of interdog aggression I've ever seen!" and "sometimes a wire just gets crossed somewhere." Sigh. My problem dog. But if you're people, she LOVES you. Anyway, once she hit 13 1/2 or so, she mellowed, and now we live in relative doggy harmony. But, still, we like to be able to shut off the sunroom sometimes, and there might be new reasons to do so once we have a mobile baby).
All we wanted was a decent looking metal or wooden gate that would fit in the doorway and swing open. Like this:
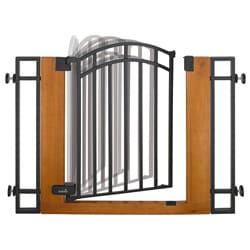
Except that that gate fits openings "29.5-40.5 inches." Now, when you look at our sunroom doorway, it looks narrow, but not really freakishly so or anything. Surely, I thought, there was a gate out there for us somewhere. But no. If you want a gate for an opening smaller than around 28" you're pretty much out of luck as far as ready made gates go. I googled "baby gate for narrow doorway" and other similar things, thinking there must be other people with this same dilemma who had come up with brilliant solutions. Not really. If you are a wide doorway person, you can find your people (and your gate) out there; there seem to be maybe 3 other people with narrow doorways they want gated, though.
The only solution other than making our own gate appeared to be having one custom made. Dave e-mailed a custom gate place for a quote. He filled out an online form giving them the dimensions of or doorway. They wrote back: "Your web form said you had a passageway whose width (from wall to wall above any baseboard) is 26 3/4 inches. That is REALLY narrow! Could you let us know if that is indeed the width?"
Dave assured them it was, and they sent us a quote for a wooden gate with a hook and eye latch for just under $200 with shipping. Ouch. Our budget was more like $60 or $70.
Onward! Dave would build a gate. He wasn't feeling very confident about this at first, though it sounded simple enough to me, the person who wasn't going to be building it. Online searches turned up remarkably little information about building your own baby gate--maybe because baby gates just aren't that expensive to buy if you have a normal sized doorway. So he winged it. He's planning to write up a complete post about the gate building process at some point, so that there will be a tutorial online of the sort we could not find ourselves, but for now, I will show you the finished product.
***********
Ack! Terrible news! It WASN'T the card reader's fault at all....it's the memory card that's screwed up! Which means that right this second I have no way of getting to all the pictures I need for this post. Eleven year old is upstairs trying the card reader in the desktop computer; our last hope! Didn't work. Sigh. I'm taking new pictures with the iphone, but all the pictures Dave took of the gate building process are, I fear, gone forever!
*************
Here is our old solution:
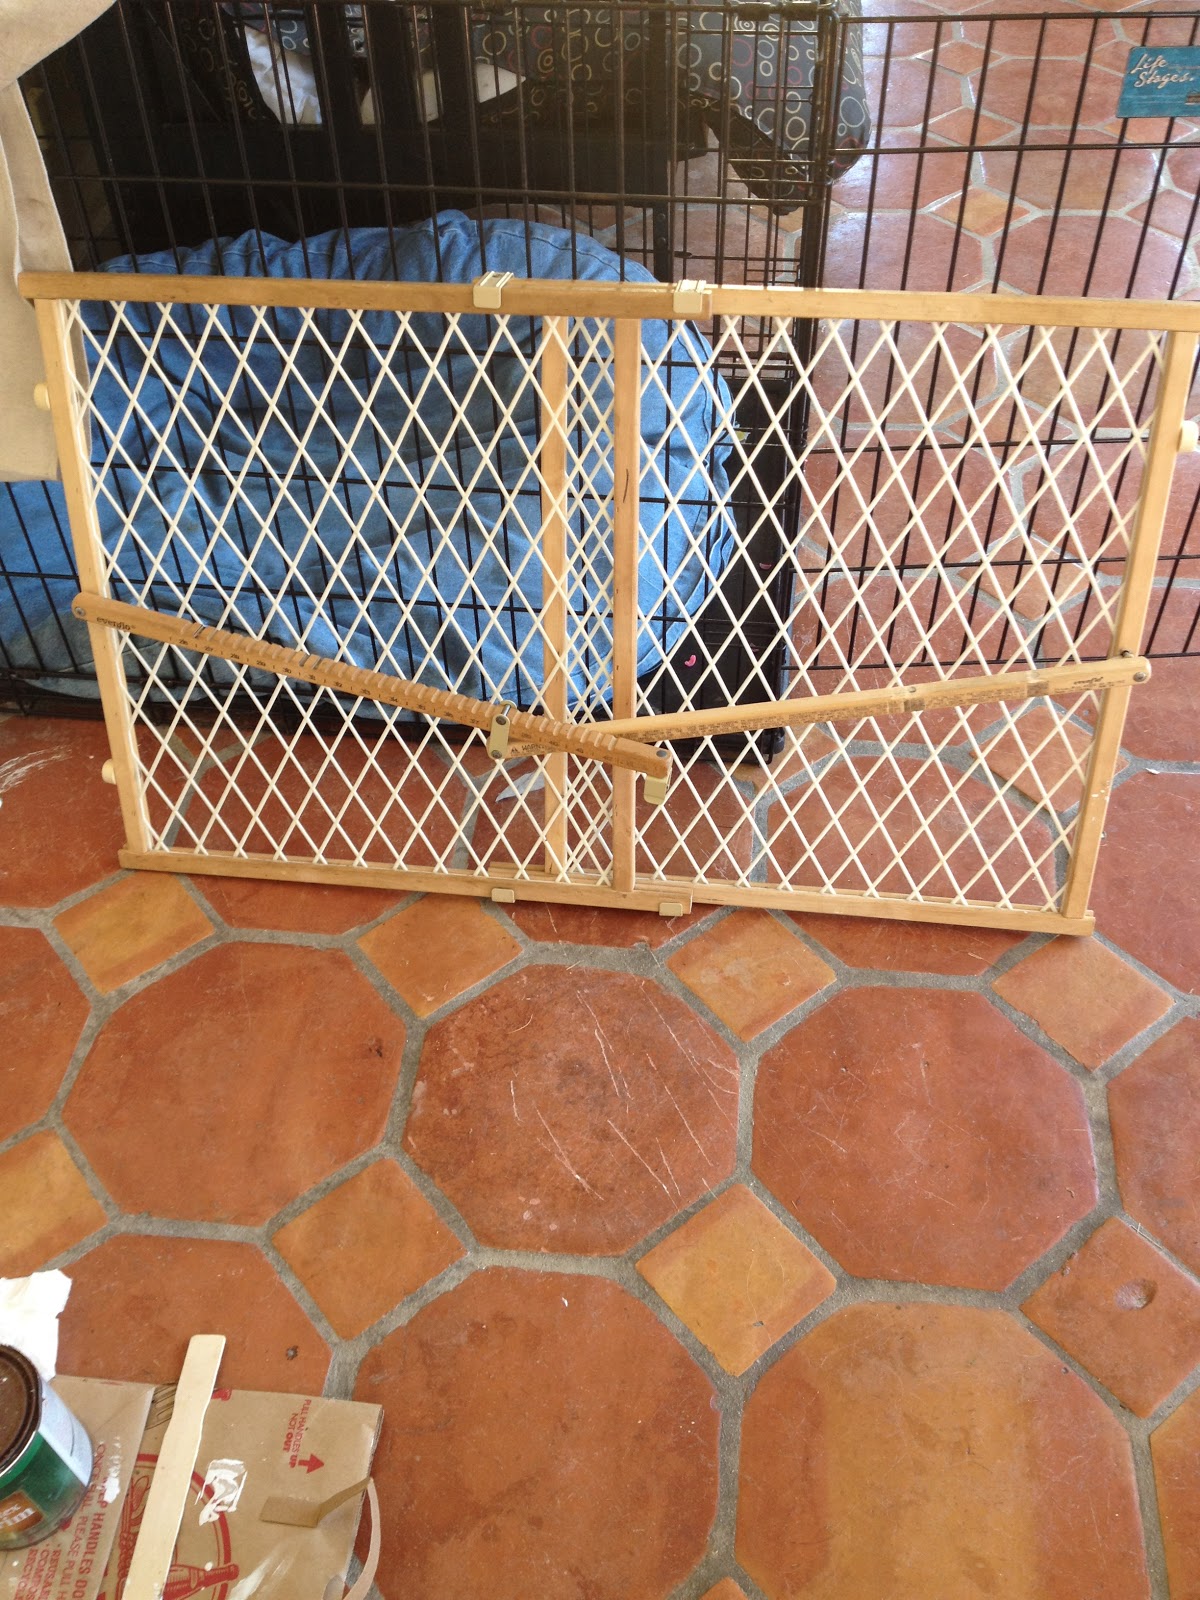
Ain't she purty? But apparently we were super lucky to even HAVE a pressure mounted gate that would go down (barely) to 26 3/4". But you have to climb over it or take it down to go through the door, and it was tearing up the paint on top of that (and on top of being ugly). Also, two of the little rubber things that go against the door jamb were missing or messed up, so it didn't even fit securely anymore.
And here's our new gate!


Notice how Fiesta manages to be in the picture of the gate from both sides, even though they were taken 20 seconds apart. She likes attention. Also, there are Ari's legs. We need to fill in the holes from the screws with putty and repaint, but....we haven't yet.
Okay, so I love my new gate! And remember how the nice looking gate that we couldn't buy because it wouldn't fit was over $80? The materials for this one were....less than $15! So while we would have spent $60 or $70 on a new gate if we could have, I'm pretty glad now that we didn't have the opportunity. Because I can think of more exciting places than a gate to put that extra $45-55.
I am bad at getting buttons to work. I need to figure that out. anyway, linked with House of Hepworths' Hookin' Up with HOH, Chic on a Shoestring Decorating's Flaunt It Friday, and The Shabby Nest's Frugal Friday
that is awesome. I don't have infants anymore my youngest is three. I would have loved a gate like that. I looks fabulous.
ReplyDeleteThank you! We're really pleased with it :)
DeleteWhat is the exact link for the instructions? I've been looking like crazy for homemade baby gates and this is the only one that appeals to me.. And keeps money in my purse
ReplyDeleteSadly, that link doesn't exist yet. DH is supposed to write up a post with plans, but he's not as timely about his blogging as I am. I'll see if I can get him to do it in the next few days!
DeleteThat would be wonderful! I would just go online and buy one but they are just so. hideous. I would much rather make it myself
DeleteYou asking for the directions was finally enough to get him to write it up! I need to take a couple of new pictures for the post, but he made some diagrams and wrote about how he made it, and it should be posted Tuesday morning :)
Delete