I totally forgot!
Our house has a weird....kid? cherub? ghost? hanging out above the front door. He's actually a little bit creepy. I don't think any other house in the neighborhood has one; I'm not sure why anyone ever thought it was a great idea to put him there.
But, at any rate, there he is. And as soon as we saw him, when we first looked at the house, the kids decided he needed to wear a Santa hat for Christmas. So, on the very same day that I did not buy a fabulous white Christmas tree, we found a lovely Santa hat at the thrift store, and got our creepy doorway kid all ready for the holidays (oh, look--wings. I guess definitely a cherub):
Showing posts with label Christmas. Show all posts
Tuesday, December 11, 2012
The Other Christmas Decorating Post
In years past (most of them anyway), we have done things like going to tree farms to cut down our own tree, or we've gone places that had hayrides and cocoa and visits with Santa to complement their overpriced trees, or, at the very least, we've gone to a less elaborate tree selling place but sprung for the Noble Fir, which was crazy expensive and absolutely beautiful.
This year (pregnant!) we went to Home Depot. Home Depot is about 7 minutes from our house, and I think we were back home within half an hour of leaving our front door. I would have bought a Noble Fir if they had them, but no. Fraser Firs as far as the eye could see.
Our tree! We pulled it out of the big pile of trees and picked it our ourselves!
The guy trimming the trunk for us has a cowboy hat, which makes the whole thing extra festive!
I thought it would be funny if they posed in front of this sign, pretending to be really excited about the chainsaw. I was right. Note that Milo is perfectly appropriately dressed for the weather in his short sleeved shirt here. SO Christmassy. But today it was 42, so maybe we should have waited a week.
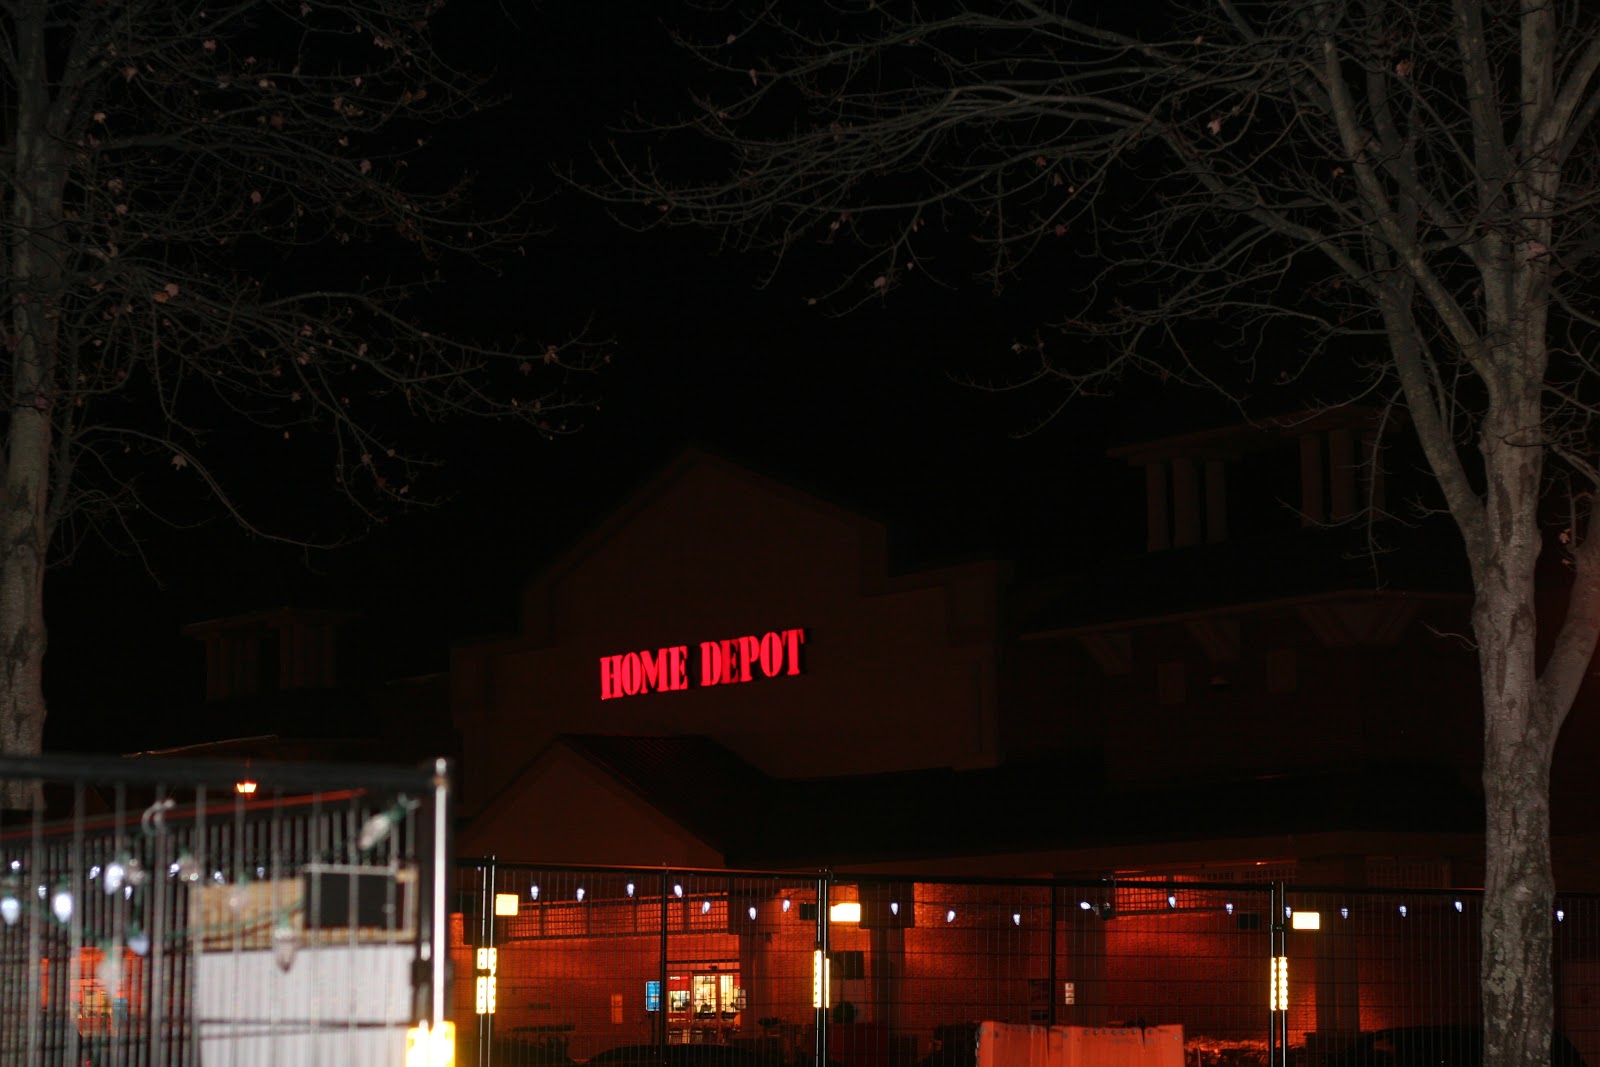
I took a picture of the sign so we'd never forget the magical night.
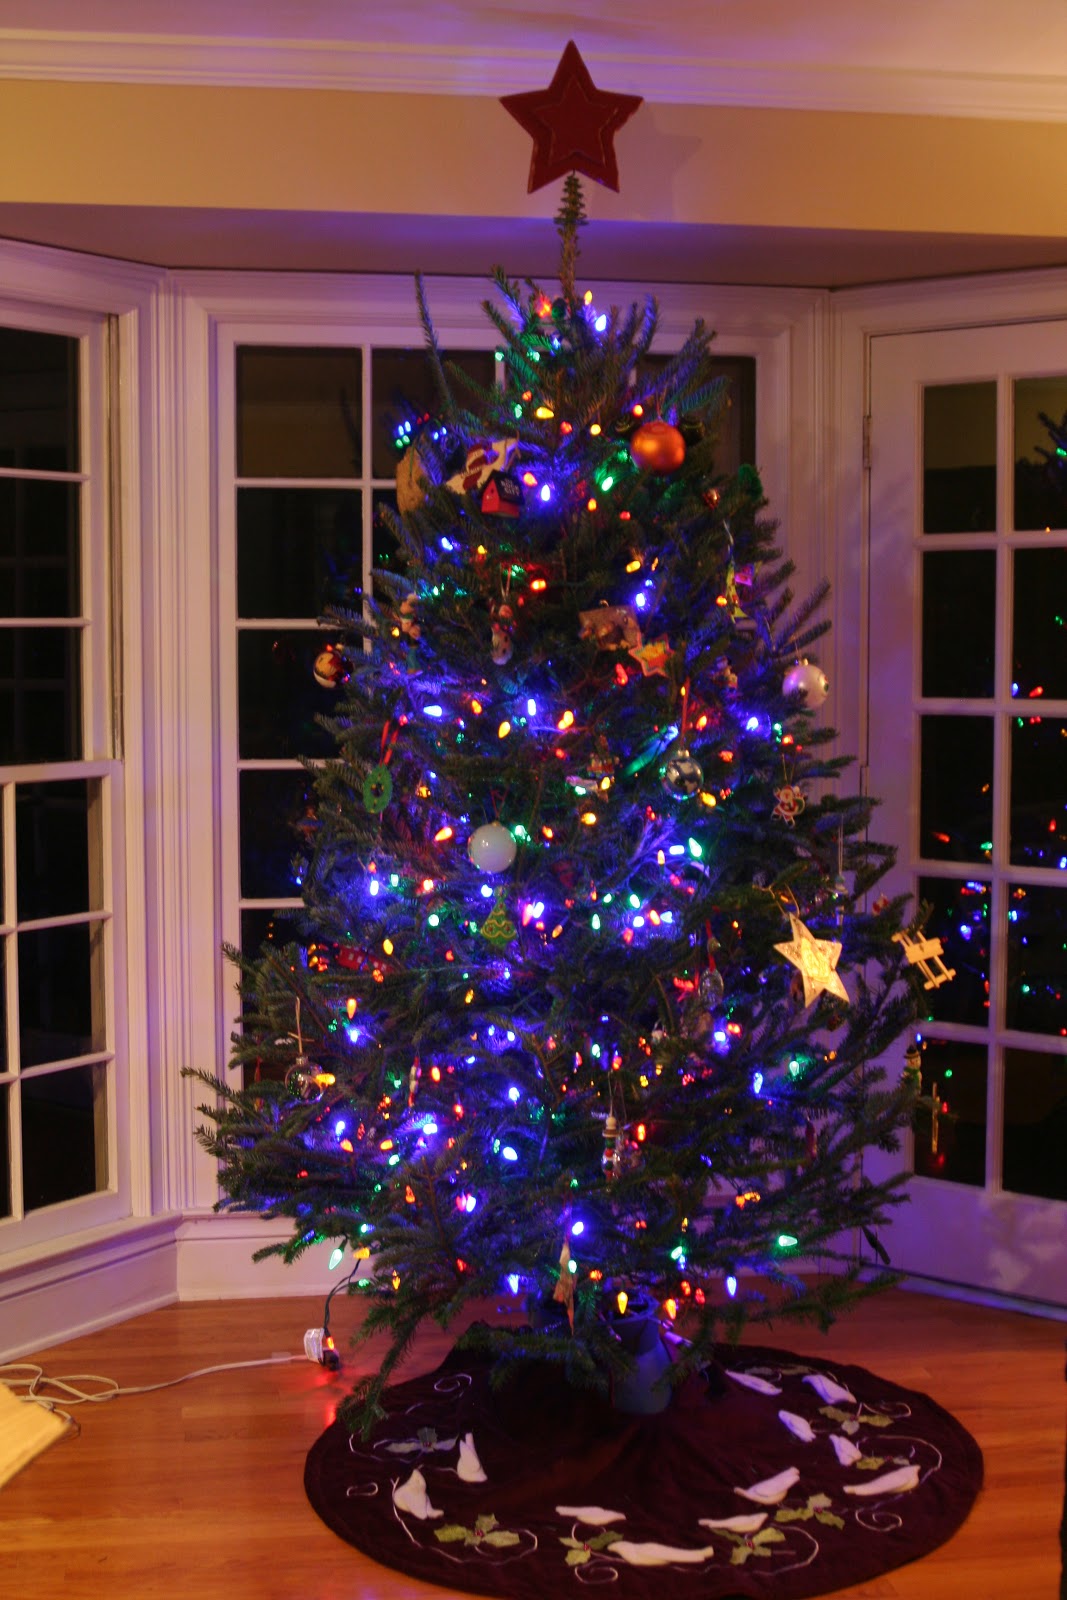
And here it is, all decorated and lit up. It's no Noble Fir, but it will do.
Our Christmas decorations are not exactly what you might call....mature. Also, I couldn't get a good picture of the whole Christmas zoo. This was the best I could do. We have a Christmas zoo. A couple of years ago, the kids got gift cards from Sears from one of Dave's uncles. Rather than buying clothes, which is not super exciting for kids, we opted for starting a Christmas village....and the Christmas village stuff that was left over after Christmas was mostly from the Lemax zoo collection. Which is cool, because what says Christmas more than....a zoo?
We just added the zoo entrance this year.
Here's the petting zoo.
I don't think the Santa actually goes with the zoo, but he could visit, right? This one moves!
What else have we got? Well, these guys from Rudolph. I tucked them in on top of the Old Lady Cabinet in the dining room. There used to be more pieces, but stuff happened.
The Playmobil nativity scene. Maybe someday we'll get a grown-up one.
The Holly Jolly Santa! My brother and SIL gave this to us Christmas of 1999. They told us it would help keep us entertained if all the power went out for Y2K, but then we opened it and realized it only plugs in...no battery back up. Fortunately, if you'll recall, it turned out not to be an issue. Santa dances to Alan Jackson singing "Holly Jolly Christmas." The best feature? The "repeat endlessly" mode that the kids are fond of setting him to. He's sounding a little....tired this year. I am worried that his Christmases are numbered.
So there you have it. It's a little....sparse compared to other people's amazing mantles and entranceways and whatnot, but....pregnant! Next year I will use my nearly one year old for an excuse instead.
Monday, December 10, 2012
Dare to DIY (Deck the Halls); giant snowflakes, et. al.
Last week of the Dare to DIY link party, and I'm back with another DIY project fit for a 7 year old! I was going to do one mammoth Christmas decorating post (well, as mammoth as it could be given our less than mammoth Christmas decorations (pregnant! universal excuse for everything I don't do!)), but I seem to be having trouble getting any sort of post written today, so I'm breaking it up.
First installment is the DIY-est of our decorating....two small projects that are making our foyer festive (a little holiday alliteration for you).
First up: giant snowflakes! I first saw a tutorial for these on my homeschool message board two years ago, I believe, and was very pleased with how impressively they turned out given how easy they were to make. I'm not going to try to explain how to make them because my poor spatial reasoning skills would make that a giant disaster. I'm going to link you to a handy tutorial from Home With the Boys instead.
First we went off to Hobby Lobby in search of shiny silver and blue paper to use for these. And.....we couldn't find any anywhere in the store. I'm still convinced they must have exactly what I wanted in there somewhere, if only I could have found the right aisle. But, at any rate, we wound up settling for a pack of blue construction paper and using regular old printer paper from home instead. We worked on these while we decorated the Christmas tree, and knocked out three of them that night.
Kids can do a good bit of these independently, depending on age. Ari can pretty much do the whole thing; the others needed some help with folding in a straight line, but could do the cutting and taping themselves. They're also very forgiving; no need for exact measurements or perfectly straight lines. Then we hung them up in the foyer with ribbon and scotch tape. And one of them keeps falling down, so we probably need to find a better way to hang them.
And part 2 of decking the foyer: vintage wrapping paper, finally put to use!
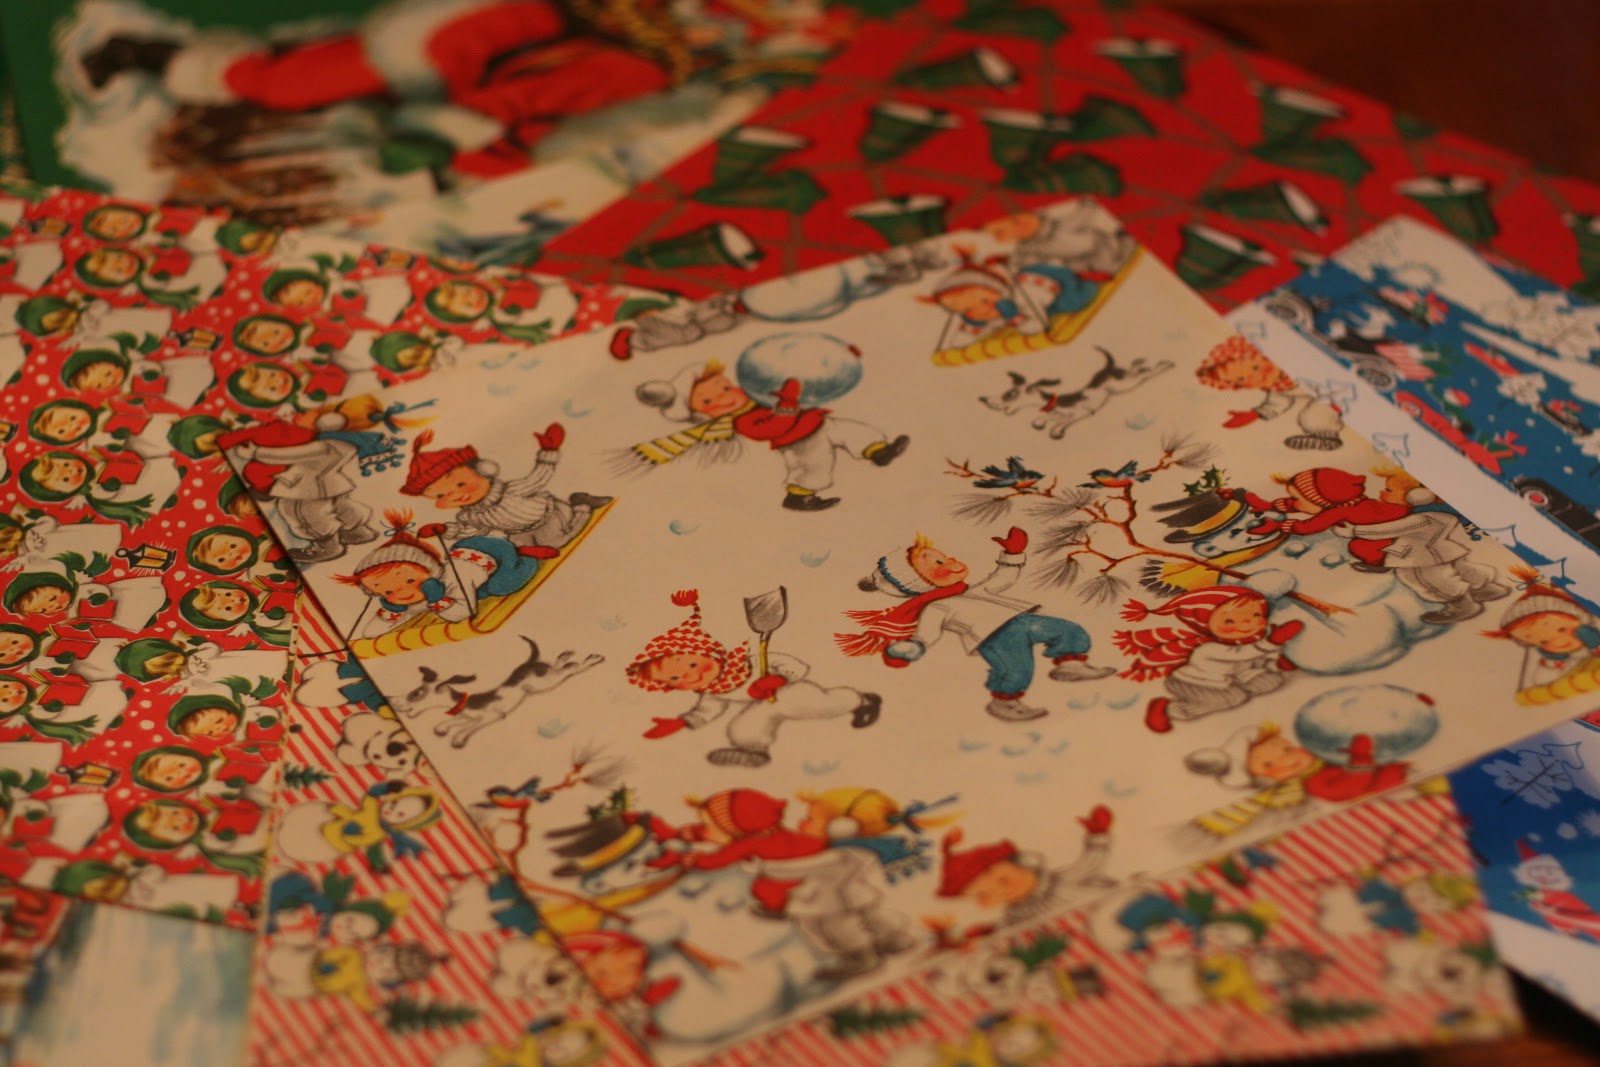
I found this box of vintage wrapping paper at a yard sale back when we lived in Boston, if I remember right. And I've been hauling it around the country with me ever since. It is too pretty to use just to wrap presents with, but I've never come up with another project for it. Until now! It's actually not especially revolutionary, my brilliant idea. "How about I buy some cheap frames and stick it in there?!" I thought to myself. So that is what I did. I still have a ton left, so I'll have to come up with some more incredibly innovative ideas like that next year.
Here's the box the gift wrap is in. It's DELUXE! or, more precisely, "DeLuxe"
There's a surprising amount of wrapping paper in there. Some of it is awesome, and some of it is plain green.
Here is my detailed tutorial for how to put vintage wrapping paper in frames:
1. Go to Hobby Lobby and buy cheap frames. These were 50% off (I understand that happens as often as not at Hobby Lobby), so $5 each. They might not have white frames like you really wanted, but the black ones will be fine.
2. Pick out your three favorite varieties of vintage wrapping paper and cut to the appropriate size.
3. Put in frames
4. Hang up on wall
5. There! Finished! And you did it all yourself! Reward yourself with chocolate.
This is what our foyer looks like now. But (warning: here is the sad part of this post)....try picturing it with a an awesome white Christmas tree with blue and silver vintage ornaments under those snowflakes. They had an awesome white Christmas tree for $29 at the thrift store the other day, and.....I did not buy it. I had a bad cold and did not feel up to decision making. And I would have had to carry it to the car. And I was TIRED. I sent Dave back for it the next day, but it was, of course, gone. Sigh. So my foyer is tragically incomplete. But I know another white (or silver!) tree will turn up sooner or later. I need only be patient. But not patient once I see it; then I must be ready to pounce!
Linking up with: Decor and the Dog, Maybe Matilda, Two Twenty One, and Newly Woodwards
My Uncommon Slice of Suburbia, Chic on a Shoestring's Flaunt It Friday
First installment is the DIY-est of our decorating....two small projects that are making our foyer festive (a little holiday alliteration for you).
First up: giant snowflakes! I first saw a tutorial for these on my homeschool message board two years ago, I believe, and was very pleased with how impressively they turned out given how easy they were to make. I'm not going to try to explain how to make them because my poor spatial reasoning skills would make that a giant disaster. I'm going to link you to a handy tutorial from Home With the Boys instead.
First we went off to Hobby Lobby in search of shiny silver and blue paper to use for these. And.....we couldn't find any anywhere in the store. I'm still convinced they must have exactly what I wanted in there somewhere, if only I could have found the right aisle. But, at any rate, we wound up settling for a pack of blue construction paper and using regular old printer paper from home instead. We worked on these while we decorated the Christmas tree, and knocked out three of them that night.
Kids can do a good bit of these independently, depending on age. Ari can pretty much do the whole thing; the others needed some help with folding in a straight line, but could do the cutting and taping themselves. They're also very forgiving; no need for exact measurements or perfectly straight lines. Then we hung them up in the foyer with ribbon and scotch tape. And one of them keeps falling down, so we probably need to find a better way to hang them.
And part 2 of decking the foyer: vintage wrapping paper, finally put to use!
I found this box of vintage wrapping paper at a yard sale back when we lived in Boston, if I remember right. And I've been hauling it around the country with me ever since. It is too pretty to use just to wrap presents with, but I've never come up with another project for it. Until now! It's actually not especially revolutionary, my brilliant idea. "How about I buy some cheap frames and stick it in there?!" I thought to myself. So that is what I did. I still have a ton left, so I'll have to come up with some more incredibly innovative ideas like that next year.
Here's the box the gift wrap is in. It's DELUXE! or, more precisely, "DeLuxe"
There's a surprising amount of wrapping paper in there. Some of it is awesome, and some of it is plain green.
Here is my detailed tutorial for how to put vintage wrapping paper in frames:
1. Go to Hobby Lobby and buy cheap frames. These were 50% off (I understand that happens as often as not at Hobby Lobby), so $5 each. They might not have white frames like you really wanted, but the black ones will be fine.
2. Pick out your three favorite varieties of vintage wrapping paper and cut to the appropriate size.
3. Put in frames
4. Hang up on wall
5. There! Finished! And you did it all yourself! Reward yourself with chocolate.
This is what our foyer looks like now. But (warning: here is the sad part of this post)....try picturing it with a an awesome white Christmas tree with blue and silver vintage ornaments under those snowflakes. They had an awesome white Christmas tree for $29 at the thrift store the other day, and.....I did not buy it. I had a bad cold and did not feel up to decision making. And I would have had to carry it to the car. And I was TIRED. I sent Dave back for it the next day, but it was, of course, gone. Sigh. So my foyer is tragically incomplete. But I know another white (or silver!) tree will turn up sooner or later. I need only be patient. But not patient once I see it; then I must be ready to pounce!
Linking up with: Decor and the Dog, Maybe Matilda, Two Twenty One, and Newly Woodwards
My Uncommon Slice of Suburbia, Chic on a Shoestring's Flaunt It Friday
Monday, December 3, 2012
Belated Advent Calendar
THIS is the project my broken (well, broken until yesterday; still somewhat unreliable and testy) printer delayed and nearly ruined Christmas by refusing to print for me. My poor kids didn't even have an Advent calendar until December 2! Tragic!
And, of course, if you're reading this in 2012, you either already have an Advent calendar or you're pretty much too late to make one. But I'm posting about it anyway.
I'm getting a lot of mileage out of the string of twine and clothespins in my dining room. First there were the anatomy cards for Halloween. Then the banner I made for Thanksgiving. And now I'm recycling it again for the Advent calendar. I don't know what I'll do next. I thought about presidents for Presidents' Day, but 1. There have been a lot of presidents. I don't know if there's room. and 2. I think the more modern presidents might look....not vintage-y enough for my tastes and for my dining room's vibe. Maybe just OLD presidents. At any rate, it's fun having something that's incredibly easy to change out seasonally.
I don't think I've ever made an Advent calendar for the kids before. We've done online ones, and cheap chocolate filled Trader Joe's ones, and expensive Playmobil ones....but no handmade ones. This one was very simple, with the exception of the 859 hours spent trying to get the printer to work.
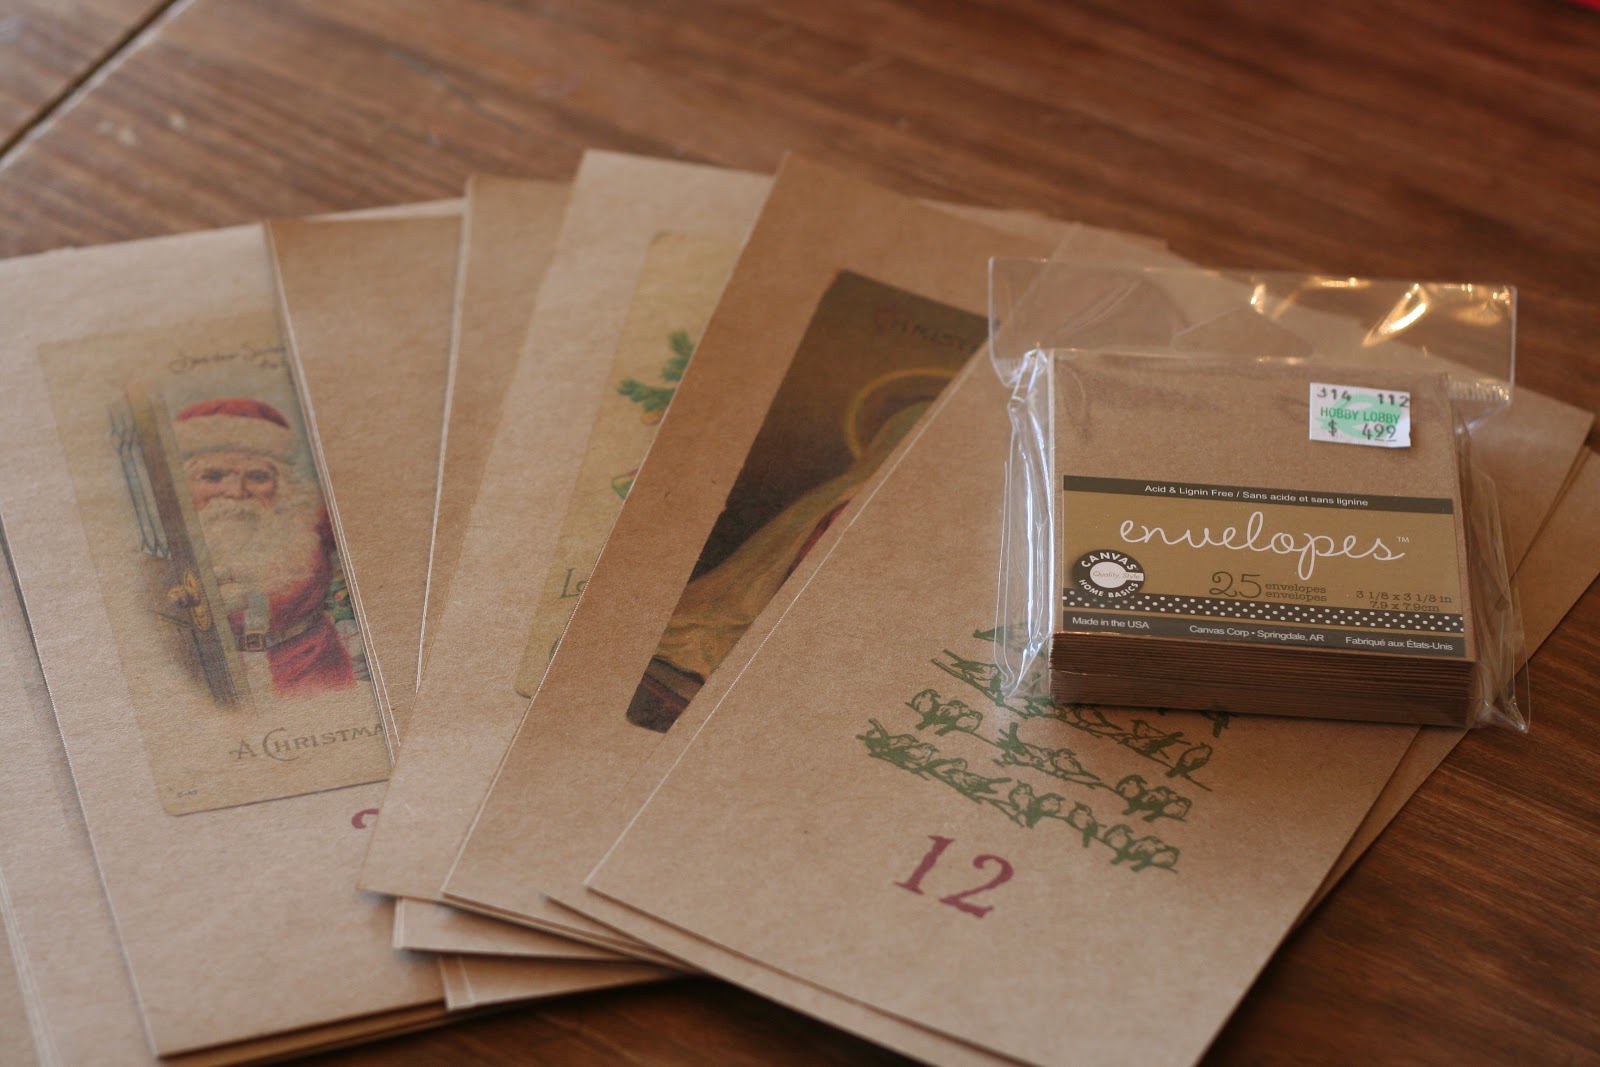
First, I found a bunch of vintage Christmasy images I liked from The Graphics Fairy. Then I made a file of them all, two per page, on Open Office. I managed to get the hang of this a little better this time than with the anatomy cards; I figured out how to put an invisible border around the whole thing, so they were nice and centered. I used my usual Boxy Colonial font, "Colonial Dame" and stuck a number on each one.
Then, 400 years later, I managed to print them all out (on the same brown cardstock I used for the Thanksgiving cards. I spent a long time going back and forth between that and antiquing the white again, but that's what I ultimately settled on). Here's a link to the PDF, in case anyone is interested.
I thought about trying to do fancy, or at least curved, edges again, but I finally just kind of chopped them down the middle and then trimmed the other side to make them (more or less) even. Christmas seems like a more....rectangular holiday than Halloween or Thanksgiving, somehow.
I bought a little package of envelopes at Hobby Lobby when I was on my coaster material run, and then I just glued a little envelopes onto the backs of the cards. Then I put an activity for each day of the month in each envelope, on a little slip of paper. I can't post the list since Ari reads the blog, but the first two were "drink hot cocoa" and "get a Christmas tree." Coming up with 24 ideas without getting in over my head ambition-wise (crafts every day! or: drive to Atlanta for expensive Christmas event twice a week!) was tricky, probably particularly since my kids are older and more jaded. But I did my best. And judging by how excited they were by "drink hot cocoa," I worried more than I needed to.
NOTE: If you are one of my children, don't look at the pictures! Spoiler alert! Minor spoiler, but still: spoiler!
Oh--VERY minor spoiler, since two of these are things they've already opened. Still, Ari: if you're reading, don't tell your brothers.
Have I mentioned my big plans to get a wide angle lens for my birthday in March? Things will be better then.
"Cocoa?! No way! We can't believe our luck!" I had kind of meant at bedtime, but they wanted to go make it right away, and who was I to say no to kids who didn't get a first day of December on their Advent calendar?
Shared with: My Uncommon Slice of Suburbia
Chic on a Shoestring's Flaunt It Friday
And, of course, if you're reading this in 2012, you either already have an Advent calendar or you're pretty much too late to make one. But I'm posting about it anyway.
I'm getting a lot of mileage out of the string of twine and clothespins in my dining room. First there were the anatomy cards for Halloween. Then the banner I made for Thanksgiving. And now I'm recycling it again for the Advent calendar. I don't know what I'll do next. I thought about presidents for Presidents' Day, but 1. There have been a lot of presidents. I don't know if there's room. and 2. I think the more modern presidents might look....not vintage-y enough for my tastes and for my dining room's vibe. Maybe just OLD presidents. At any rate, it's fun having something that's incredibly easy to change out seasonally.
I don't think I've ever made an Advent calendar for the kids before. We've done online ones, and cheap chocolate filled Trader Joe's ones, and expensive Playmobil ones....but no handmade ones. This one was very simple, with the exception of the 859 hours spent trying to get the printer to work.
First, I found a bunch of vintage Christmasy images I liked from The Graphics Fairy. Then I made a file of them all, two per page, on Open Office. I managed to get the hang of this a little better this time than with the anatomy cards; I figured out how to put an invisible border around the whole thing, so they were nice and centered. I used my usual Boxy Colonial font, "Colonial Dame" and stuck a number on each one.
Then, 400 years later, I managed to print them all out (on the same brown cardstock I used for the Thanksgiving cards. I spent a long time going back and forth between that and antiquing the white again, but that's what I ultimately settled on). Here's a link to the PDF, in case anyone is interested.
I thought about trying to do fancy, or at least curved, edges again, but I finally just kind of chopped them down the middle and then trimmed the other side to make them (more or less) even. Christmas seems like a more....rectangular holiday than Halloween or Thanksgiving, somehow.
I bought a little package of envelopes at Hobby Lobby when I was on my coaster material run, and then I just glued a little envelopes onto the backs of the cards. Then I put an activity for each day of the month in each envelope, on a little slip of paper. I can't post the list since Ari reads the blog, but the first two were "drink hot cocoa" and "get a Christmas tree." Coming up with 24 ideas without getting in over my head ambition-wise (crafts every day! or: drive to Atlanta for expensive Christmas event twice a week!) was tricky, probably particularly since my kids are older and more jaded. But I did my best. And judging by how excited they were by "drink hot cocoa," I worried more than I needed to.
NOTE: If you are one of my children, don't look at the pictures! Spoiler alert! Minor spoiler, but still: spoiler!
Oh--VERY minor spoiler, since two of these are things they've already opened. Still, Ari: if you're reading, don't tell your brothers.
Have I mentioned my big plans to get a wide angle lens for my birthday in March? Things will be better then.
"Cocoa?! No way! We can't believe our luck!" I had kind of meant at bedtime, but they wanted to go make it right away, and who was I to say no to kids who didn't get a first day of December on their Advent calendar?
Shared with: My Uncommon Slice of Suburbia
Chic on a Shoestring's Flaunt It Friday
Coasters for Christmas!
I know that there are approximately 80 gazillion tutorials out there for how to make your very own coasters out of 16 cent tiles from Lowes....but I think maybe the reason for this is that coasters are actually pretty useful (like, if I had any, I wouldn't always have to grab a random scrap of paper to put my glass on on my dining room table), and even if you have some it's always okay to have more because they don't take up much space, and these are super easy and cheap to make, and if the person you give them to doesn't like them it's really easy for them to stick them in a drawer somewhere and only pull them out when you come over! Yay!
So I decided awhile back that coasters would be the perfect present for the kids to make for assorted friends and relatives this Christmas. And when I saw that the theme of week 3 of the Dare to DIY challenge would be "give handmade," it gave me an extra kick in the butt to get going with that already.
So here is the coaster tutorial to
So first you go to Hobby Lobby, your new favorite store, and you purchase:
scrapbook paper
Mod Podge (I got matte, but you can get the shiny stuff if you want. It's up to you!)
clear acrylic spray sealer (again, I went with matte)
sponge brushes
a glue gun, if you are new to craftiness and don't already have one
a roll of thin cork (according to the other tutorials, you can also use dots of felt)
Then you go to Lowes and get a bunch of white "biscuit" tile for 16 cents a square. This might get more expensive when your kids see the Gatorade and want some. Especially if one of them is getting over strep. He'll insist he NEEDS one because he's SICK. And then you'll spend more on Gatorade than on tile, but that's okay. Because you love your children and want them to be
Trace around the tiles on the back of the scrapbook paper and cut out a square. I found out after this that, even if you don't want a border for aesthetic reasons, it's best not to go all the way to the edges or you'll wind up with paper overhanging that's hard to get all sealed in with the Mod Podge and whatnot.
Put a layer of Mod Podge on the tile, and then put the scrapbook paper on and quickly get it just how you want it. Then put another layer of Mod Podge on top. The Mod Podging is a great job for your almost 7 year old!
Wait 10 minutes or so for the first layer to dry, then put another layer on (waiting for things to dry is the primary time suck in this project). It will look like this at first, but don't worry: it dries clear!
Like this!
Then go to work with your acrylic sealer (outside). I did 3 coats, and you're supposed to do them, according to the label, 2 minutes apart. Which is too long for impatient people like me to just stand there, but too short to actually do something else. I might not have made it to two whole minutes. Then you're supposed to let it dry for 24 hours before handling, but that's ridiculous. I'll bet NOBODY waits that long!
Next you whip out your new $2.99 glue gun, cut out a square of cork (the cork I bought was self adhesive, but I didn't trust the built in adhesion to do the job by itself), and glue that sucker down. Another fun job for kids. Hot glue! What could be more fun?!
Mod Podging!
Hot glue!
We still have a bunch more sets to make, but here are the first two, all finished!
Let's call this the homeschool post for the week, too. Multi-tasking!
Sharing at the Dare to DIY party hosted by: Decor and the Dog, Maybe Matilda, Newly Woodwards, and TwoTwentyOne
And also with: Tuesday's Treasures at My Uncommon Slice of Suburbia, Hookin' Up With House of Hepworths, Somewhat Simple, Chic on a Shoestring Decorating's Flaunt It Friday, The Shabby Nest's Frugal Friday
Subscribe to:
Posts (Atom)